Getting accurate measurements is one of the most important steps when preparing for your cabinetry project from W. W. Wood Products, Inc. Proper dimensions help avoid delays, fit issues, and unexpected costs. Here’s how to do it and what to pass along to your cabinet retailer or designer.
Why accurate measurements matter
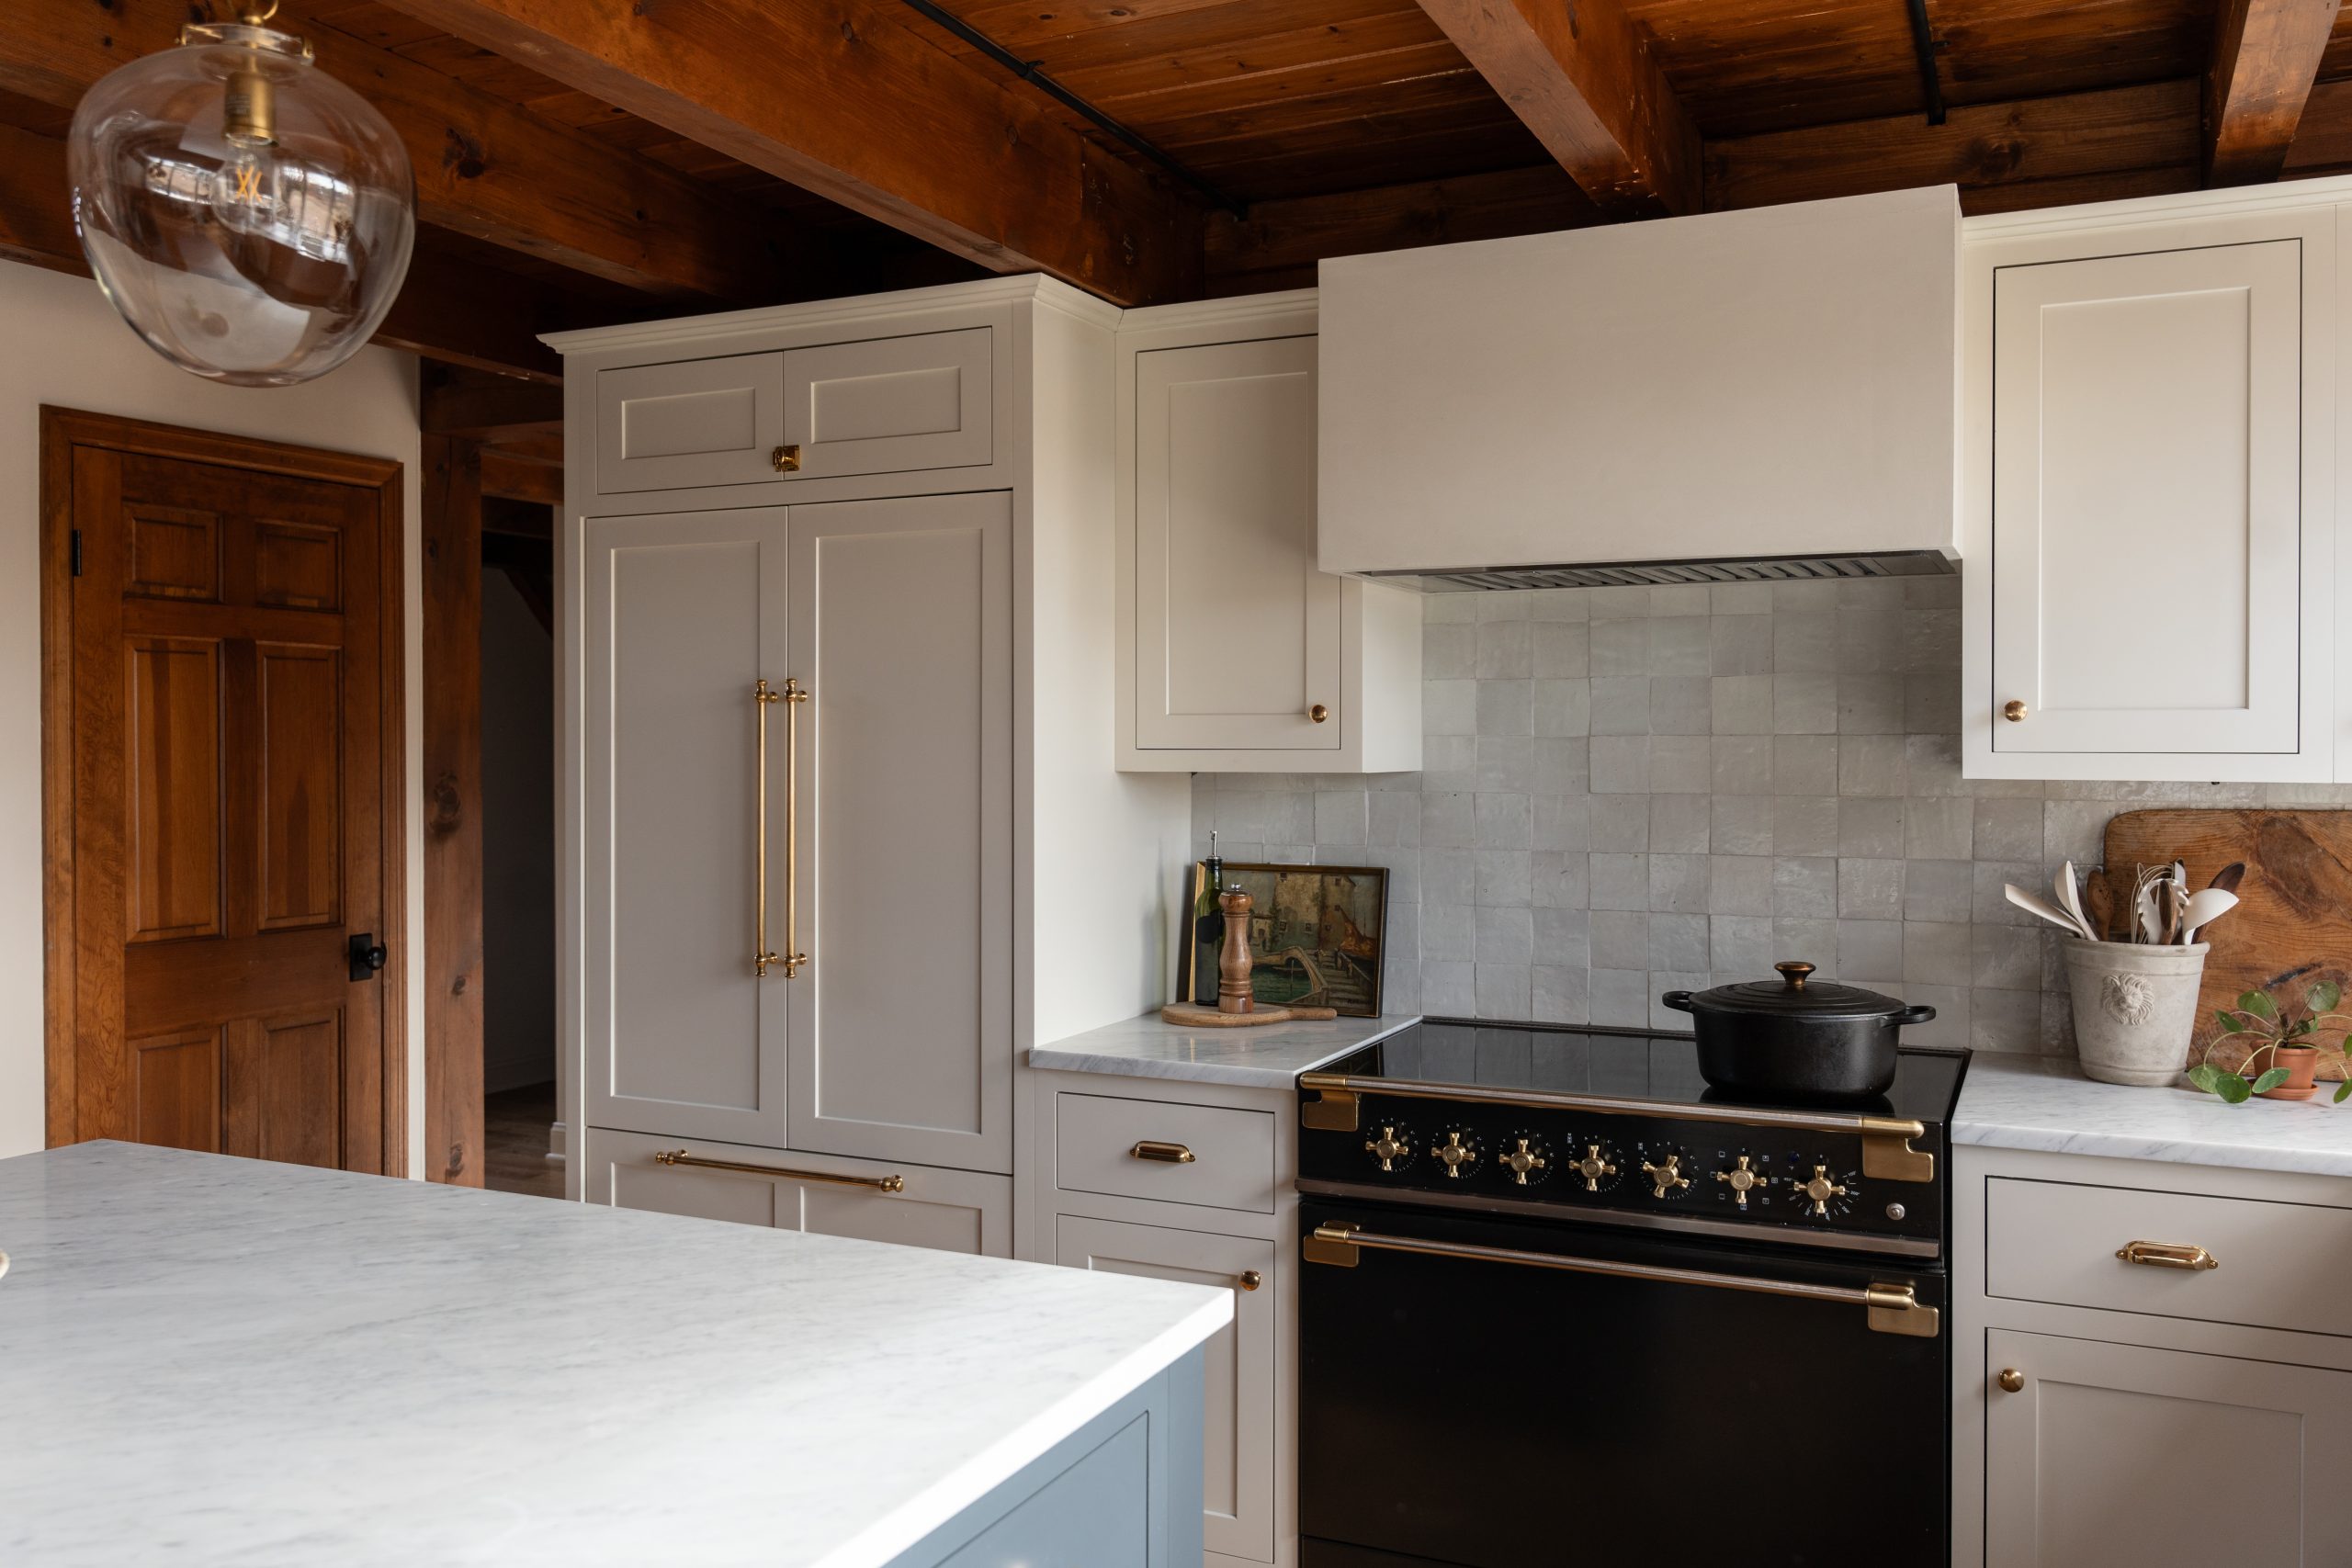
W. W. Wood Products specializes in mouldings, cabinet doors and a full array of cabinetry. Because their products are manufactured to detailed specifications, the better the measurements you supply, the smoother the design, manufacturing and installation steps will be.
Tools you’ll need
- Tape measure (at least 25 ft/8 m)
- Pencil and paper (or tablet) for drawing rough sketches
- Level (optional but helpful)
- Camera or phone to take reference photos
- A helper (optional) to hold the tape or note dimensions
Step 1: Sketch the room layout
Begin with a rough sketch of the room where the cabinets will go (e.g., kitchen, laundry room, office). Note the location of key elements: doors, windows, vents, plumbing, appliances. Label each wall (e.g., Wall A, Wall B).
Step 2: Measure wall length and height
For each wall where cabinets will be installed:
- Length: Measure from one end of the wall to the other, capturing full width.
- Height: Measure from finished floor to the underside of the ceiling or soffit. If there is a drop-ceiling, bulkhead or soffit above the wall, measure that space too.
Include notes about any irregularities (sloped ceilings, lowered beams, etc.).
Step 3: Mark openings and obstacles
Measure and record the size, location and height from the floor of:
- Windows (width and height)
- Doors (width and swing direction)
- Vents, radiators, exposed plumbing or pipe chase
- Appliances (existing or future: refrigerator, cooktop, dishwasher, hood) These impact how and where the cabinetry will sit.
Step 4: Measure for base cabinets, wall cabinets and islands
Base Cabinets
- Depth: Standard base cabinets are ~24 in (61 cm) deep, but verify actual depth needed (e.g., if appliances or user needs differ).
- Height: Measure from finished floor to top of base cabinet height (including countertop thickness if known).
- Width: Note each module width (such as 30 in wide, 36 in wide), or plan widths on your sketch.
Wall Cabinets
- Depth: Standard is 12 in. (30 cm) deep; custom depths may vary.
- Height: From bottom of wall cabinet to underside of the cabinet above (or soffit).
- Width: As with base cabinets, break down widths per unit.
Island or Peninsula
- Measure its overall footprint: Length, width, and height (if counters vary).
- Note required clearance around island for working space and traffic flow.
Step 5: Check for level and plumb (optional but helpful)
Using a level, check whether:
- The floor is level across the wall (if not, adjustment will be needed in the cabinetry installation process).
- The wall is plumb (vertical) — any bowing or unevenness should be noted.
Step 6: Photograph and annotate
Take wide-view photos of each wall you measured and any challenging areas. Use your sketch to annotate each photo: show where measurements came from (floor, ceiling, corners). Photos help communicate conditions and reduce guesswork for your designer.
Step 7: Create a list/chart of all dimensions
On one sheet or digital file, list each wall and all the key measurements: wall length, wall height, locations of windows/doors, appliance footprints, etc.
Example headings:
Wall Length Height Notes (doors/windows/obstacles) A
144 in 96 in Window 48 x 36 at 42 in above floor B
120 in 96 in Refrigerator space 36 in wide
This list will be key for your first conversation with the W. W. Wood Products cabinet retailer and their designers.

Tips & things to watch out for
- Always measure finished floor height — if new flooring is planned, measure after flooring is installed or account for difference.
- Take at least two measurements for each dimension (top, middle, bottom of wall) to spot inconsistencies.
- For walls with stone, tile or other heavy finishes, confirm where the finish will stop so cabinet installation depth aligns.
- Allow clearances for appliances, doors and drawers: for example, check that the dishwasher door will open fully without hitting cabinet face.
- If custom paint/stain finishes are planned (which W.W. Wood offers), send finish samples or specify paint codes early.
Final thought
Thinking ahead, measuring carefully, and providing thorough documentation gives you the foundation for a successful cabinetry project. The right preparation ensures the craftsmanship shows, the fit is seamless, and your space is transformed beautifully.